The complete checklist for MacBook screen and Motherboard repairs in South Africa
Discover Vital Tips for Device Repair: Specialist Insights on Screen Repair Service and Motherboard Repair
When your gizmo starts acting up, it can be frustrating. You'll need the right tools and methods to deal with these fixings successfully. Let's explore the essentials that will prepare you for your next repair challenge.
Recognizing Common Gizmo Concerns
Gadgets can be a source of irritation when they malfunction, but recognizing common issues can save you time and money. If your gadget will not power on, verify the battery's charged or replace it if needed.
Overheating is another usual concern; verify your device isn't obstructed by dirt or particles, which can prevent air movement. Comprehending these standard concerns can aid you fix efficiently and stay clear of unneeded repair services or expenditures down the line.
Important Devices for Gizmo Fixing
When you prepare to tackle gizmo repair services, having the right devices is essential. You'll require must-have repair service tools, safety and security equipment essentials, and some specialized instruments to get the job done. Let's discover what you ought to have in your toolkit for an effective repair experience.
Must-Have Repair Work Devices
Having the right tools is vital for successful gizmo repair work. Don't fail to remember a suction cup for screen repairs, enabling you to raise screens quickly. With these must-have devices, you'll be well-equipped to take on any type of gadget repair difficulty.
Safety And Security Devices Basics
Security is paramount in gadget repair service, and having the right security tools can stop mishaps and injuries. Consider utilizing a dust mask to avoid breathing in dangerous particles, especially when working with older tools. By outfitting on your own with these basics, you'll develop a safer workspace and enhance your general repair service experience.
Specialized Device Instruments
Step-by-Step Overview to Screen Repair
Repairing a broken or shattered screen can appear intimidating, however with a couple of tools and some patience, you can do it on your own. First, collect your products: a substitute screen, a warmth weapon or hairdryer, and precision devices like screwdrivers and plastic prying devices.
Beginning by powering off your tool and eliminating any kind of safety situations. Utilize the warm gun to soften the adhesive around the display - MacBook screen and Motherboard repairs in South Africa. Very carefully tear the display far from the device, taking your time to avoid destructive interior elements
Once the old display is gotten rid of, clean the area and use the brand-new screen, guaranteeing it lines up appropriately. Press strongly to secure it in area, then rebuild your tool.
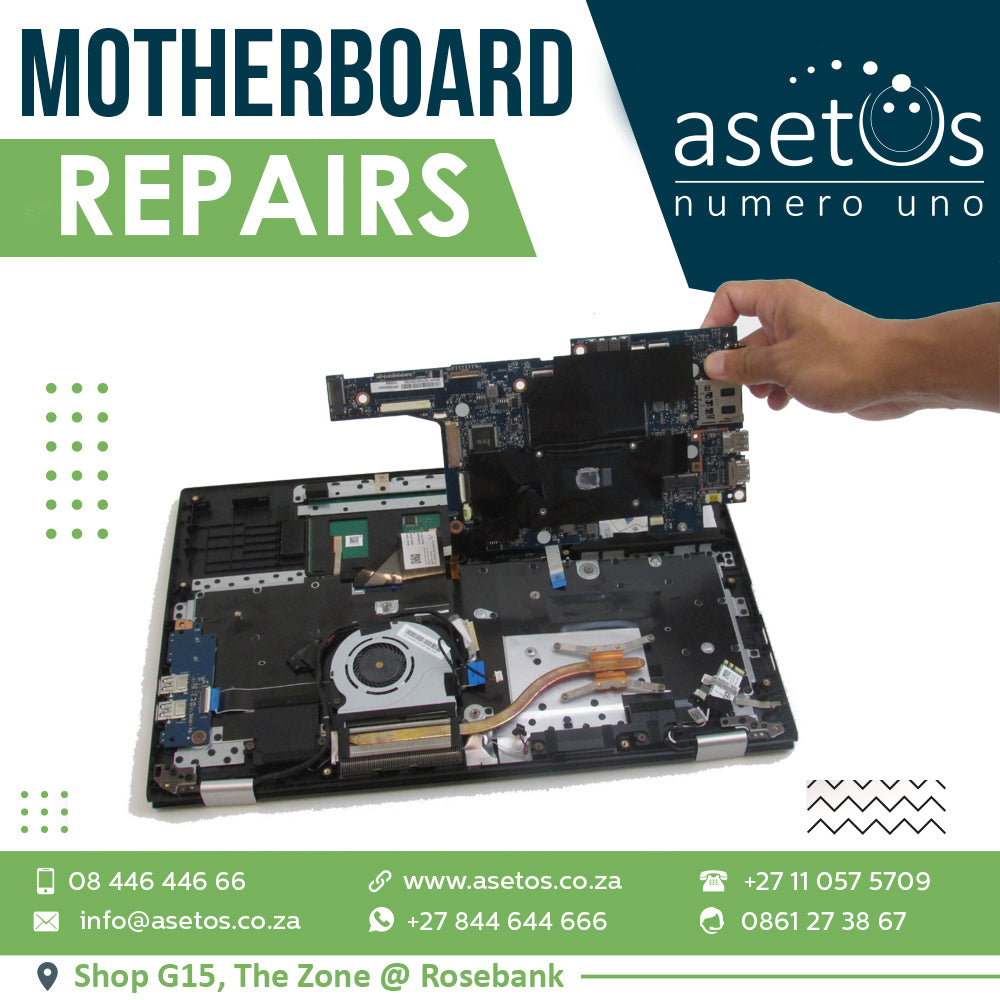
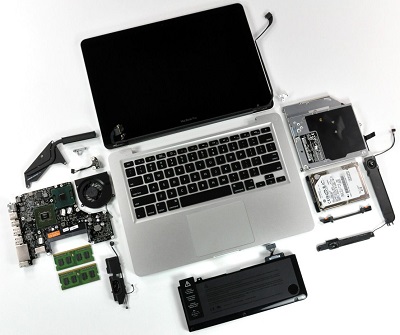
Diagnosing Motherboard Troubles
When your device begins acting up, the motherboard could be the culprit. You'll want to look for usual symptoms like unexpected shutdowns or failure too. By examining the parts successfully, you can determine the problem and select the following actions.
Typical Signs And Symptoms Determined
How can you click site inform if your motherboard is the offender behind your gizmo's problems? Begin by observing your device's visit this page actions. If your display shows artefacts or fails to reveal anything at all, the motherboard could be falling short.
Examining Components Efficiently
Evaluating elements effectively is necessary for identifying motherboard problems. Start by examining the power supply. Confirm it's functioning correctly and offering the needed voltage. Next off, evaluate the capacitors for bulging or leakage, as these can indicate failing. Use a multimeter to examine resistors and diodes; they ought to reveal resistance worths within expected varieties. If you have access to a thermal camera, use it to recognize overheating elements. Additionally, reseat RAM and growth cards, as loose connections can create concerns. If the motherboard still does not work, think about utilizing an article card to inspect error codes. Keep in mind, perseverance and methodical screening are type in identifying the specific cause of the trouble, so take your time.
Safe Practices for DIY Repair Works
Security ought to constantly be your leading concern when taking on Do it yourself gadget repairs. Start by disconnecting your device and getting rid of batteries to protect against any kind of electrical dangers.
Utilize the right tools for each and every task; don't force a device if it doesn't fit. Ground yourself to stop static electrical power from harming delicate elements-- utilize an anti-static wrist strap if you have one. Familiarize yourself with the gizmo's guidebook before diving in; recognizing the design and assembly can conserve you time and frustration.
Lastly, take breaks to clear your mind and prevent tiredness. Hurrying can cause errors that could damage your tool or cause injury. Constantly prioritize security to assure a successful repair experience.
When to Seek Expert Assistance
While lots of device repair work can be handled in your home, there are times when it's finest to hire a specialist. If you discover yourself dealing with a broken display that you can find out more seems beyond a simple solution, or if your gadget will not power on regardless of your efforts, don't be reluctant to look for specialist aid. Complex problems like motherboard damage frequently need customized tools and understanding that you could not have.
In addition, if your device is still under service warranty, trying a DIY repair work could void that protection. Always bear in mind, recognizing when to step back can be just as vital as recognizing just how to fix.
Precautionary Actions to Prolong Gadget Life-span
To ensure your gizmos last as long as feasible, adopting precautionary actions is essential. Keep your devices tidy. Routinely wipe screens and keyboards to prevent dirt accumulation and grime. Next off, purchase premium cases and screen protectors; they can absorb shocks and minimize damages from declines.
Be conscious of battery health and wellness-- prevent allowing it drain completely or overcharging. Instead, bill your devices when they hit around 20%.
Do not multitask excessively or run too many apps at the same time; this can stress your device. By following these pointers, you'll greatly boost your gizmos' durability and efficiency, conserving you time and cash on repair services.
Regularly Asked Concerns
Can I Fix My Gadget Without Any Prior Experience?
You can repair your device without prior experience, but it'll take persistence and some study. Begin with basic repairs, see tutorials, and collect the right tools. You'll find out and enhance with method.
Just How Much Does Specialist Fixing Commonly Cost?
Expert fixing costs differ commonly, generally varying from $50 to $300, relying on the tool and the problem. You should always get a quote prior to proceeding, ensuring you understand the expenditures entailed.
What Guarantees Cover DIY Repair Works on Gadgets?
Many makers' guarantees don't cover do it yourself fixings, yet some offer restricted insurance coverage for components if you follow their standards. Constantly examine the guarantee terms prior to starting any repair to prevent nullifying your coverage.
Exist Specific Brands Easier to Repair Than Others?
Absolutely, some brands are much easier to fix than others. For circumstances, firms like iFixit frequently provide in-depth guides, while brands like Apple can be extra challenging as a result of exclusive components and restricted documents.
Exactly How Can I Recycle Old Devices Properly After Fixing?
After you repair your old gizmos, think about donating them to neighborhood charities, recycling via accredited e-waste programs, or marketing parts online. Constantly assure they're dealt with responsibly to minimize environmental impact and advertise sustainability.